
In the intense MW3 Survival Mode, players face relentless waves of enemies. This guide provides a comprehensive overview, delving into the intricacies of survival strategies crucial for success.
Understanding the map, coordinating with teammates, and optimizing loadouts are paramount. The significance of these strategies cannot be overstated, as they form the foundation for enduring the challenges ahead. Brace yourself for an insightful journey into mastering MW3 Survival Mode with effective and essential survival tactics.
Selecting a Partner: Offline and Online Dynamics
 Image: wallpapercave.com
Offline, choosing a partner in MW3 Survival Mode boils down to personal preference, favoring someone well-versed in first-person shooters. Online, the landscape is tricky—level doesn't guarantee competence. Friendships with effective players are key, evident on leaderboards. Top-ranking players often prove invaluable allies. Beware of bad connections; steer clear of latencies exceeding 100ms. Lag can turn simple tasks into burdens, emphasizing the need for a reliable and skilled partner to navigate the challenges of MW3 Survival Mode effectively.
Know your weapons: a tactical overview
 Image: wallpapercave.com
Understanding the MW3 Survival Mode arsenal is paramount for success. The armories are categorized into three types strategically placed across the map:
- Weapon Armory: Purchase guns, upgrades, and replenish ammo.
- Defense Armory: Acquire armor, sentry guns, grenades, and other countermeasures.
- Air Support Armory: Call in airstrikes, launch predator missiles, and enlist support from Delta squads.
While there are no inherently bad choices, poor weapon combinations and mistimed purchases can derail your strategy. Avoid, for instance, using a predator missile late in wave nine when tougher enemies, like riot shield Juggernauts, approach in wave ten.
Picking your location: strategic camping for survival
 Image: wall.alphacoders.com
Understanding map dynamics is crucial, exploiting strengths and weaknesses. Be mindful of armor locations, as chaotic dashes between them impact your next wave of survival. For enduring longevity, the tried-and-true strategy of camping proves essential. Opt for a central location with two entrances shielded from enemy exposures.
Embrace the crouched or prone position, efficiently picking off foes as they appear. Adapt when necessary, especially during explosive dog encounters. Mastering this strategic camping approach is achieved through familiarity, ensuring survival deep into the waves.
Let’s get to killin’: maximizing funds for success
 Image: wall.alphacoders.com
Each enemy you eliminate in MW3 Survival Mode brings valuable funds; knowing how to use them strategically is key. In the early waves, prioritize melee attacks to conserve ammo and save money. Pick up weapons dropped by enemies, upgrading to more potent ones when necessary. Adapt your choices based on the map, complementing your teammates and responding to evolving circumstances. These general rules will guide you in making optimal decisions with your hard-earned funds for ultimate success.
Sensible sentry: tactical placement for maximum impact
Strategically placing Sentry Guns is crucial for rapid enemy takedowns, preventing overwhelming situations. Position them where both you and the sentry can engage enemies simultaneously. Avoid placing it outside. You're on the other side as it becomes vulnerable. With one Sentry Gun per person, ensure each teammate has one nearby. Swiftly replace them when needed, emphasizing the importance of quick and efficient financial management for sustained defensive firepower.
You only live twice: self-revive for survival
 Image: wallpapercave.com
A Self-revive is a lifesaver, sparing your teammates from leaving their posts to rescue you. In the face of danger, it allows you to swiftly return to the fray, potentially turning the tide in tough waves. While pricey, the ability to resurrect yourself can be the difference between success and failure.
Team building: deploying allies for victory
Invest in a Delta squad if possible, as they're resilient, charging enemies down and serving as effective distractions. Beware of explosives when deploying your team, ensuring enemies with bombs are eliminated at a safe distance to protect your allies from the blast. Carefully coordinate grenade throws and explosive placements in consideration of your team's position for optimal survival.
25-second splash-and-dash: strategic armory management
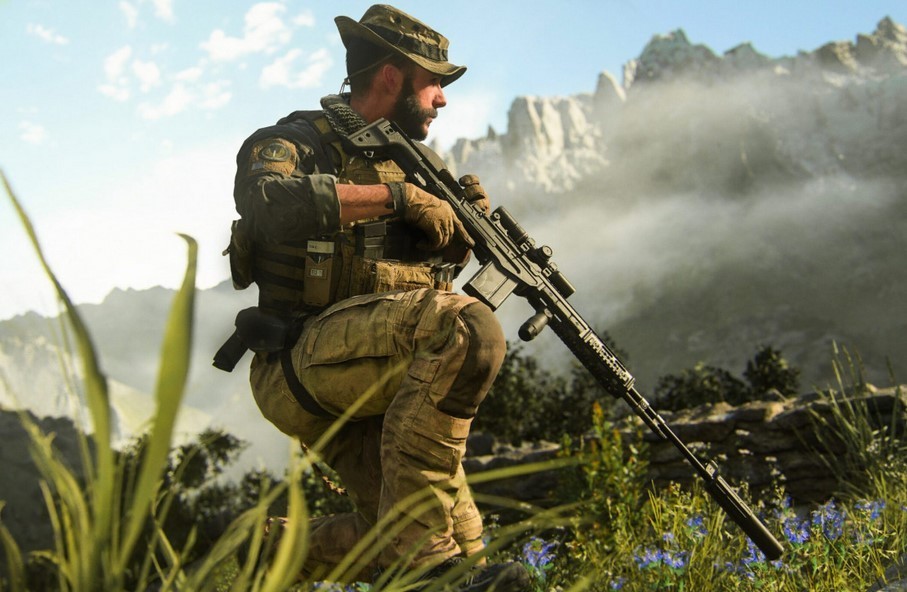 Image: wallpapercave.com
Timing is crucial in MW3 Survival Mode; if reaching your safe house before the next wave is uncertain, it's wise to stay put or visit only one armory. Unless essential for survival, like an ammo refill, wait for a more opportune moment. Staying together is paramount—straying across the map can lead to isolation and peril for you and your teammate. If pressed for time, save the chopper for last, using the moment for strategic restocking.
Remembering the sequence: key strategies for longevity
Understanding the wave pattern is vital for extended survival. Memorize when to buy a predator missile, deploy a Delta squad, and strategically place Claymores. Consider noting these on a pad for quick reference, enabling timely preparation for upcoming challenges. While it may seem meticulous, this method ensures the desired results, especially when aiming beyond wave twenty—a significant benchmark in MW3 Survival Mode.
Success in MW3 Survival Mode hinges on strategic armory management, staying together, and memorizing wave sequences. Embrace these key strategies for longevity and triumph. Keep pushing, and may your skills lead you to victory!
Main image: wallpapercave.com


0 comments