
 Vadim "Vadim" Dybinskiy
 Minecraft is an amazing sandbox where users can spend dozens of hours. Then, by installing mods, they might find the process engrossed for a couple hundred more hours. When playing with others, these numbers can seem endless.
Perhaps you've long wanted to play together with friends on a single Minecraft server? In that case, our article will help make wish come true. We'll cover all the options for creating it for several people.
 Image: youtube.com/@MyPodengos
We won't be discussing large-scale options for a huge number of players, but we will detail how to create a Minecraft server for a small group of people.
What is Realms?
 Image: minecraft.net
The simplest way is to purchase this through the game developers via Minecraft Realms. To do this, visit the Mojang website, register or log into an account to pay for Realms.
The main advantage of the method is stability and constant online presence. It doesn't matter if the computer is on: the server will still be running. Every hour, a backup is automatically made, the results of which can be easily downloaded. Even if you don't pay on time, no one will delete the cubic game world.
Despite being a paid method, it has downsides:
- There is a maximum of ten players.
- You cannot choose old versions of Minecraft.
- Realms only works on the latest stable versions of the game.
- There is no possibility to install mods, scripts.
- There is no control panel.
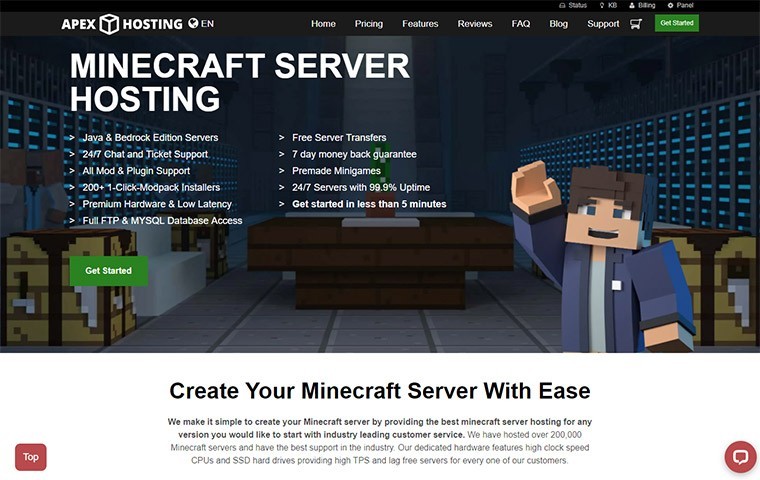 Image: mamboserver.com
There are also third-party resources available for purchase. The benefits are similar to Realms, except that they may not always be able to provide stable operation and generally pose a risk. In the event of a problem, it's not always possible to recover.
However, there's an advantage that Mojang's hosting doesn't offer. You can choose the game version and core, as well as install scripts, mods. But this will increase the cost, as more memory needs to be allocated to the server. Failure to pay will simply result in its deletion as a penalty.
How to create a local server?
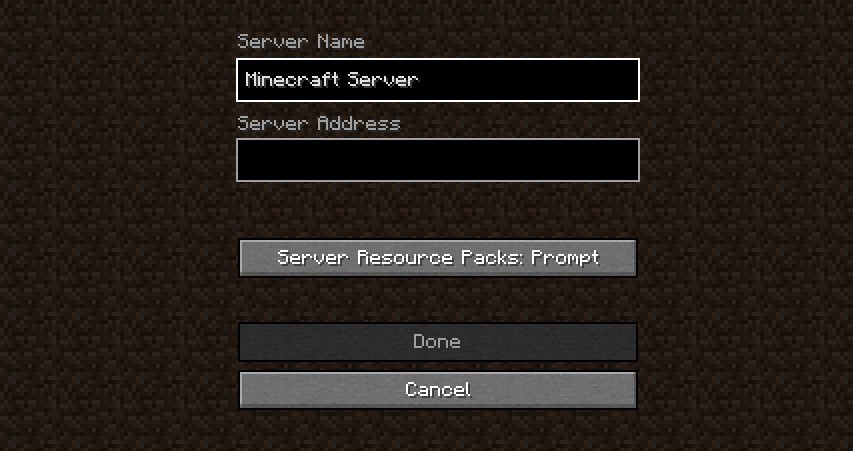 Image: Ensiplay
For starters, let's list all the advantages:
- Easy to create;
- Free;
- Does not heavily load the system;
- Ability to choose the Minecraft version;
- Play with mods, scripts, and other settings.
The drawback is that all players must use the same network, which is only feasible if they are at your house with their computers. Also, if the computer is turned off, everything will stop working.
To launch a local version, first enter the Minecraft world. During the game, press the "Esc" button, then select "Open to LAN". In the window that opens, you’ll be able to choose the game mode and whether to enable/disable cheats. Then click on "Start LAN World". The game will display the port in the chat.
Another method is to type the /publish command in the chat. This will start it with the world settings already in place. The chat will display text with the port.
When the local server is ready, another player needs to click on the "Multiplayer" button in the menu. After that, they must enter the IP address, colon, the port shown by the game.
How to create a server on a computer?
 Image: kiberzona72.ru
The advantages here are the same as for a local version. The drawback of needing to stay on for stable operation on a PC remains. Unique downsides include:
- The necessity to open ports;
- Complicated setup and creation;
- High load on the computer;
- High dependence on internet connection.
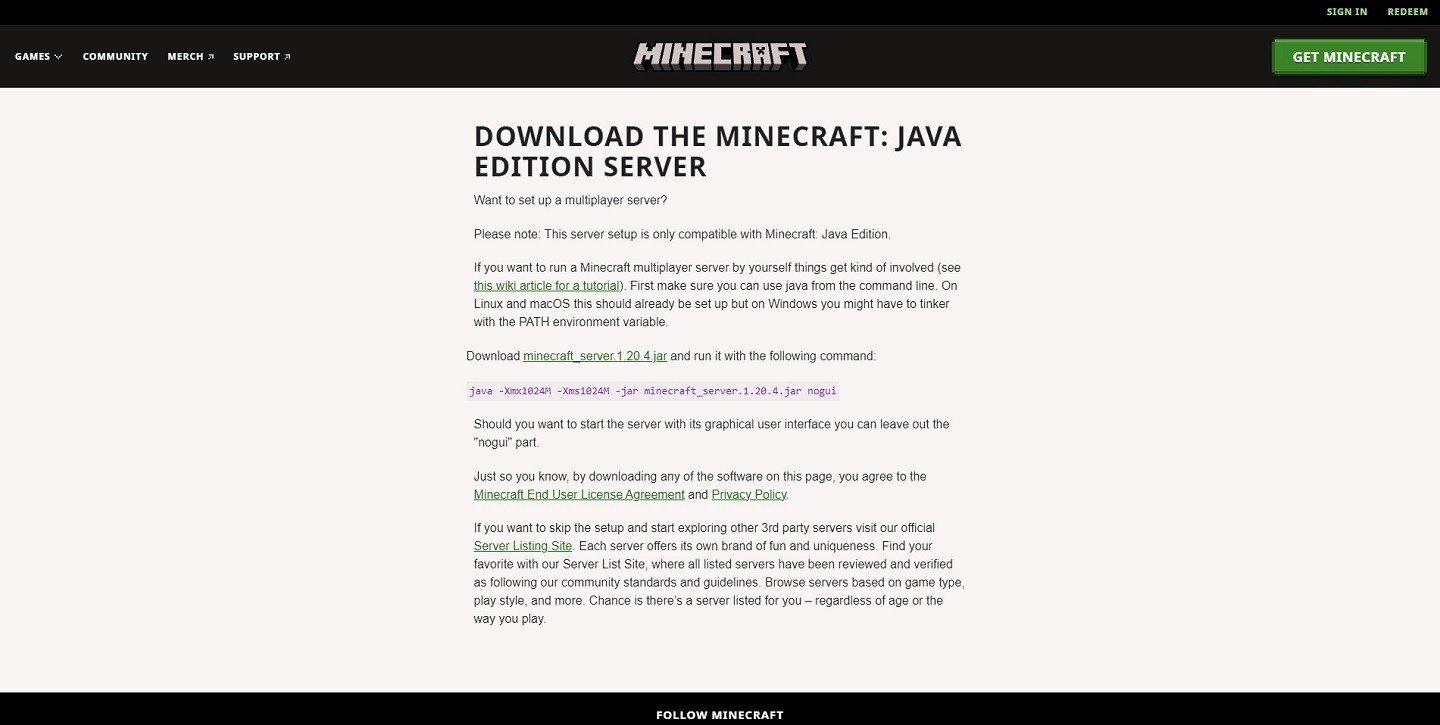 Image: minecraft.net
If you're ready to create a server, the following instructions will explain how to do it.
Start with choosing the version. When creating a new profile through the original launcher, you have the option to download the required version directly. If this is not available, visit the official Minecraft website to rectify the oversight.
After downloading, we recommend creating a separate folder for convenience. Move the file there. This folder will serve as the server's storage, so name it accordingly. After the first launch, some new documents will appear there, which would be unpleasant to have scattered all over the PC.
Java installation
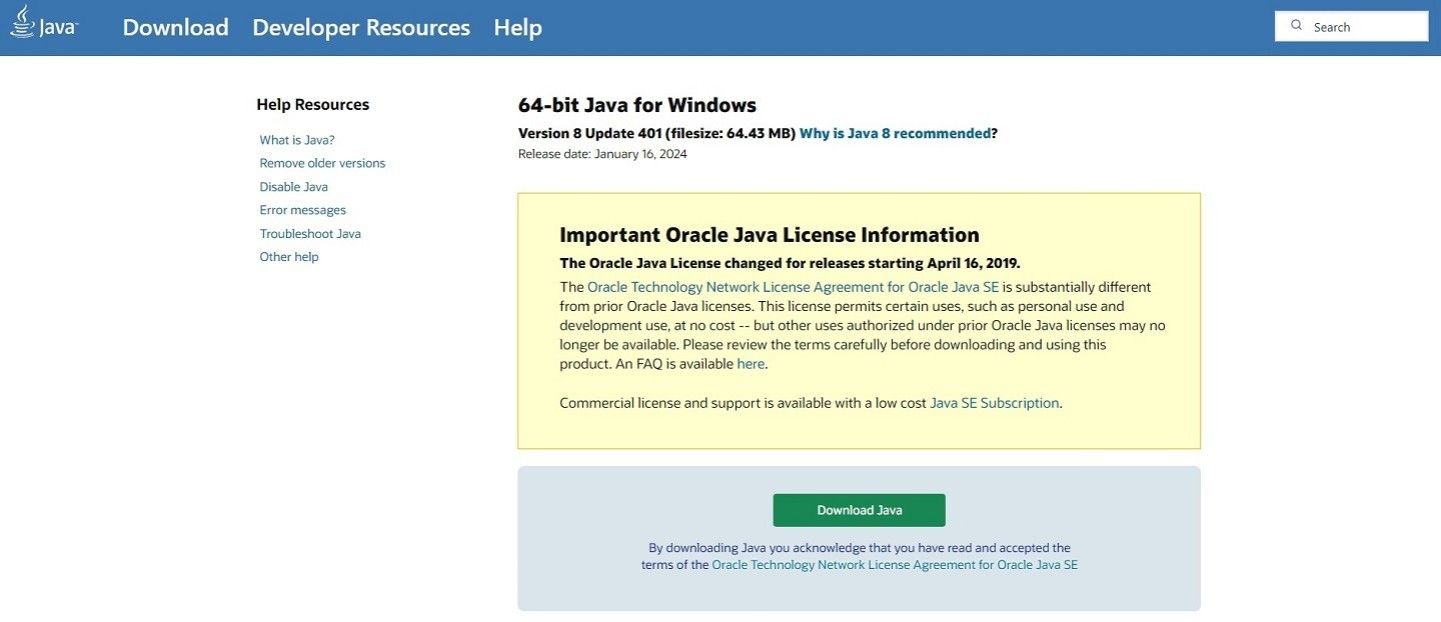 Image: java.com
To run a Minecraft server, Java is required. To install the program, visit the website and then click on the green "Download Java" button. Next, run the installer and complete the installation with its help.
If Java is already installed, you need to check the version. It should match the one listed on the website. If it doesn't, click "Update Now" in the program window.
Settings
For the necessary development to be able to start later, you need to enter a command and agree to the terms. First, open Notepad. Once it's open, write the launch command as shown in the picture.
 Image: Ensiplay
"Xmx" specifies the minimum amount of RAM. “Xms” specifies the maximum. Depending on how much memory is allocated for the game, write "1024" or "2048" for both. The "server.jar" notation indicates the name of the file. Replace this with the name of the document, or if you prefer, rename it to "server". Then the example notation will be appropriate.
At the end, there's the word "nogui", which affects the graphical user interface for managing. If the PC is weak, it’s recommended to enable it, as in the example. If the computer is powerful enough, you can omit this. The functionality does not change.
In the file type, select "All files". In the name, write "start.bat". Save the resulting document in the folder.
There, run the originally downloaded file. It’ll create the server's configuration documents. Now you need to agree to the terms. Open the created text document named "eula". In the last line, replace "false" with "true".
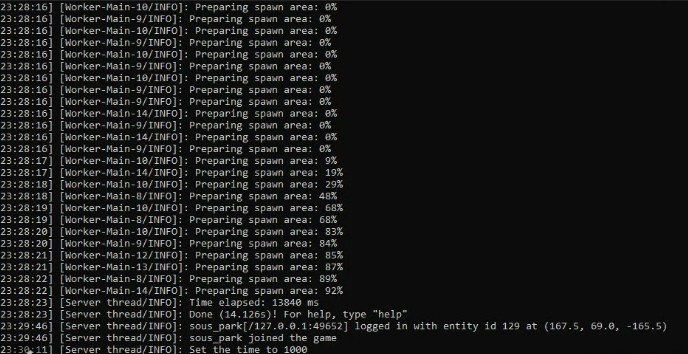 Image: flectone.ru
Now run the file again. A command line will appear. Once the word "Done" is displayed, you can close the window.
Next, we'll set up the necessary development. Open the "server.properties" file with Notepad or Notepad++. There are many different items here. Thanks to them, detailed settings are made. We'll only talk about the most important ones.
If "true" is entered in the "white-list" item, then the nicknames of those who can visit the server will need to be entered in a separate file. Those not listed won't be able to enter, even with the IP address.
You can make a description by entering it in the "motd" item. Also important is the "server-port", which is set automatically. Ours is "25565". For everything to function, the port must be open. This is not the simplest action, which we will explain in more detail later.
Port forwarding
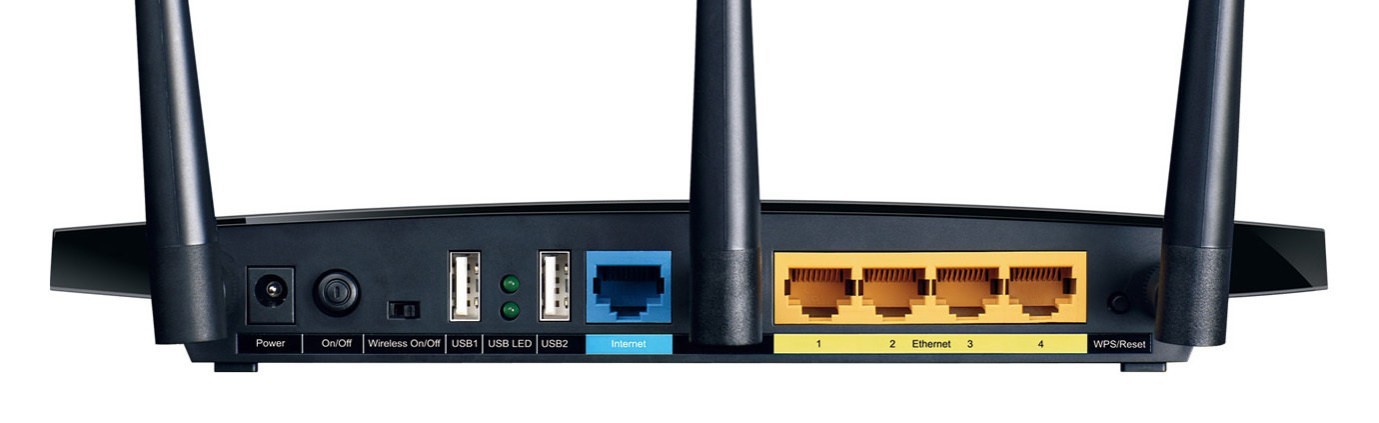 Image: flectone.ru
Not all internet providers allow such actions. Often, the feature is paid. You need to call the provider and request it to enable the capability.
This can be done using a router. Take the device, look up the login address. These numbers are then entered into the browser's search bar. This will connect you to the router. Then, it may ask for login details, which are usually found on the device itself. Often, the username is "admin", the password is the same.
Once logged in, find the virtual server settings. Sometimes, these are called "NAT".
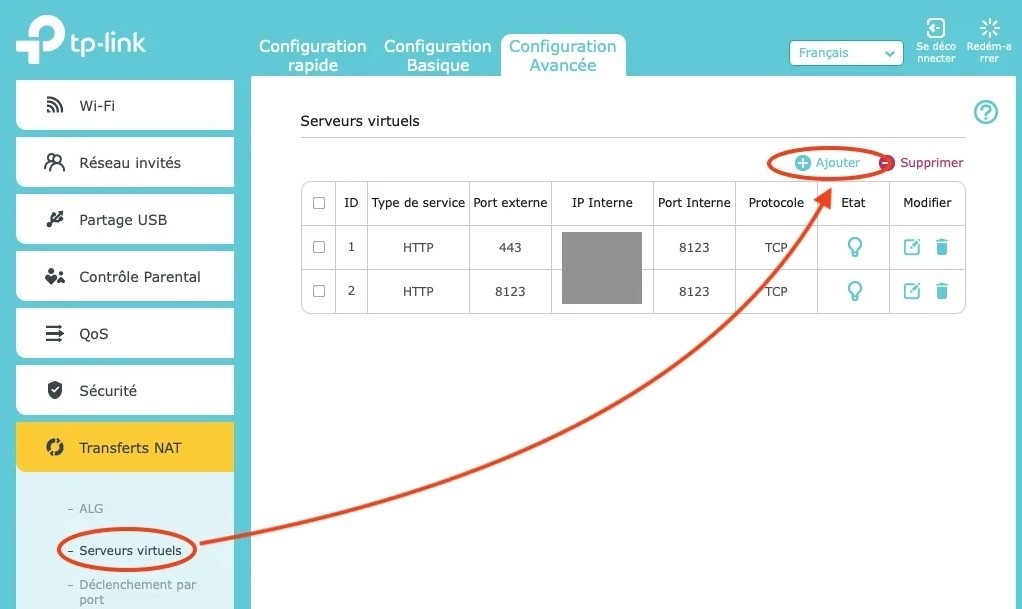 Image: cpit.ca
When it is found, proceed to set up the same ports. Choose any name. Specify the first + last port, for example, "25565". Then, enter the IP address. To do this, open the command prompt, type "ipconfig", then find the "IPv4" line, copy the address.
The next step is to choose the protocol. First, select TCP, press "Add", and then in a new line select UDP. Some routers require a reboot. Done! The ports are open.
Connecting
 Image: flectone.ru
Finally, we're on the home stretch. Find out the IP address. If a colon is added to it, followed by an open port, you get the server address of the server. It is important to handle this carefully, like with house keys. Send this to those who want to play with!
Since you are the master of the server, you can freely initiate a development connection in two ways. To do this, enter a public IP. If the server is running on the computer, then "localhost" is entered.
It's advisable for users not to share their public IP on the internet or with strangers, as it could pose a significant security risk to their network. This is akin to leaving the door wide open for potential malicious actors. For this reason, it's critically important to keep such information confidential and only share data with those you trust.
Main image by Easy Diffusion


0 comments